


![[color:savanna stone] Discover The Perfect Luxury Pet Bandana, in Stunning Savanna Stone! Available To Personalise Now at Lords & Labradors](http://www.lordsandlabradors.co.uk/cdn/shop/files/savanna-dog-bandana-by-lords-and-labradors-1_abe91c34-2011-4693-9829-b9fe33af94cc.jpg?v=1690282584&width=533)


How to Clean Urine from a Foam Dog Bed
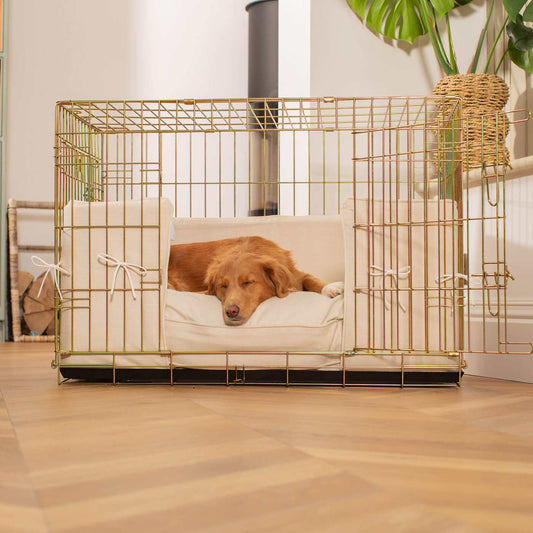
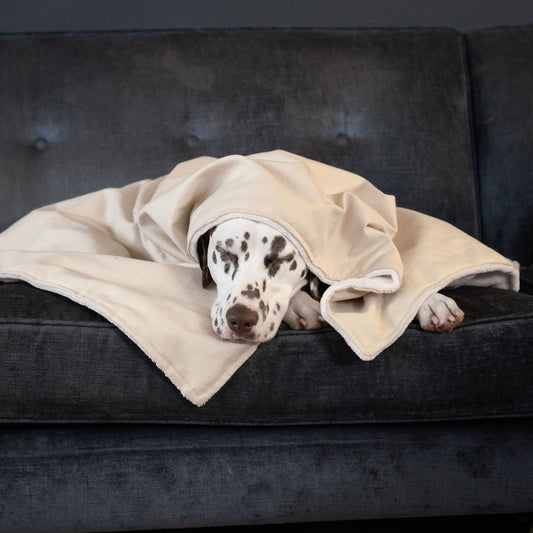
Foam dog beds and accidents are an inevitable combination. Especially if you share your home with a puppy, a senior dog, or simply a pup who got caught short. The good news is that foam, even the premium memory foam kind, is far more forgiving than it looks. The difference between a bed that comes out fresh and one that's permanently ruined almost always comes down to those crucial first few minutes and knowing which steps to take in which order. Here's exactly how to handle it — from the moment you discover the accident all the way through to a fully clean, dry, odor-free bed your dog will be happy to curl up on again. How to clean urine from a foam dog bed without ruining the filling With the right approach, you can absolutely save that bed and have it smell fresh again, even if it's a beloved memory foam mattress that sets you back considerably. The secret to cleaning urine from a foam dog bed successfully lies in staying methodical rather than panicking and dousing everything with whatever cleaning products you have under the sink. Foam handles proper care beautifully, but it does need a gentler touch since you can't simply toss the whole thing in the washing machine like a regular cushion. This guide covers everything you need: your immediate game plan when you spot that dreaded wet patch, deep-cleaning the foam insert itself, eliminating stubborn odours that signal "toilet" to your pup instead of "cosy bed," and ensuring thorough drying to prevent mold taking hold. Memory foam dog beds get special attention here—these premium fills need extra care but respond wonderfully when treated right. We'll also help you recognise when it's time to retire a bed rather than wage an endless cleaning battle. Sometimes, particularly with older foam or repeated heavy soiling, starting fresh becomes the healthier choice for your dog. Here's the encouraging truth: most accidents are completely salvageable with patience and proper technique. Whether you're dealing with a one-off puppy mishap or your senior dog's occasional leak, that favourite napping spot can be restored to its former glory. What to do first when you find pee on the bed Finding pee on your dog's beloved foam bed can feel overwhelming, but taking the right first steps makes all the difference between a successful clean-up and a lingering mess that haunts you for weeks. Acting quickly and methodically prevents urine from soaking deeper into the foam, where it becomes nearly impossible to remove completely. Here's exactly what to do the moment you discover the accident: Strip everything immediately - Remove any removable covers, blankets, or washable outer layers from the bed. Speed matters here because urine continues spreading through fabric and foam every second it sits. Blot, don't rub - Using clean paper towels or old towels, press firmly into any wet spots to absorb as much liquid as possible. Resist the urge to scrub or wipe, which only pushes urine deeper into the foam's tiny air pockets. Separate washable from non-washable parts - Set aside covers and removable pieces that can go in your washing machine. Keep the foam insert separate since most foam requires different cleaning methods. Check care labels before doing anything else - Some memory foam breaks down with certain cleaners or too much water. A quick label check now saves you from accidentally destroying an expensive bed. Key mistake to avoid: Never immediately soak or saturate the foam with water or cleaning solutions. This drives urine deeper into the material and creates perfect conditions for mold and mildew. I learned this the hard way when my Labrador Max had an overnight accident on his memory foam bed. I panicked and doused the whole thing with water, thinking I was diluting the mess. Instead, I created a soggy disaster that took days to dry and still smelled faintly of pee weeks later. Now that you've contained the situation and separated your materials, you're ready to tackle the actual cleaning process. The specific method depends on whether the foam itself got wet, but these first steps give you the best foundation for whatever comes next. How to clean urine from the foam itself step by step Cleaning foam inserts requires a gentle touch because too much moisture can break down the structure, trap odors deep inside, and create the perfect breeding ground for mold. Memory foam is particularly vulnerable since it's designed to absorb and hold its shape—which unfortunately means it can also absorb and hold those unwanted smells. The key is removing the urine without drowning the foam completely. Blot up fresh urine immediately using paper towels or clean cloths. Press firmly and repeatedly to pull as much liquid as possible from the foam before it soaks deeper. Think of it like pressing water out of a sponge—you want to work quickly while the accident is still surface-level. Check both sides of the foam insert to locate the full affected area. Urine has a sneaky way of seeping straight through, so you'll likely need to treat the entire contaminated section, not just where you can see the stain. Mix your cleaning solution using one part white vinegar to two parts water, or combine a few drops of enzyme cleaner with water in a spray bottle. Skip harsh chemicals that could irritate your dog's skin later—they'll be sleeping on this bed, after all. Spray lightly on the soiled area without creating a soggy mess. You want the solution to penetrate where the urine went, but over-wetting will make drying nearly impossible and could damage the foam's structure permanently. Work the solution in gently using your fingers or a soft cloth. Press and massage the cleaning solution into the foam, focusing on the most heavily soiled spots. You're trying to break up the urine so you can lift it out. Blot with clean, damp cloths to remove the cleaning solution and dissolved urine. This step prevents soap residue from attracting more dirt and odors down the line—trust me, you don't want to create a magnet for future messes. Extract as much moisture as possible by pressing dry towels into the foam. For thick inserts, don't be shy about applying pressure or even standing on the towels. You might need several rounds of this. Do the sniff test once the area is slightly drier. If you still catch a whiff of urine, repeat steps 3-7 before moving on to drying. Memory Foam Alert: Never oversaturate memory foam—it can take days to dry completely and may never bounce back to its original shape. Use minimal liquid and focus on thorough moisture extraction. A fan helps speed things along, but avoid direct heat which can crack or damage the foam. Most accidents clean up beautifully with patience and this method. If the foam still smells strongly after a complete clean and dry, or feels permanently different, replacement might be your kindest option for your dog's comfort. How to get rid of lingering urine smell and stains Once you've tackled the initial mess, it's time to move on to the next challenge: making sure there's no lingering smell or pesky yellow stain on your dog's foam bed. Even when you think you've cleaned it thoroughly, urine crystals might still be hiding deep within the material. Dogs have a nose for these things, so let's ensure they have their comfy spot back odor-free. Here's a step-by-step guide on how to clean urine from a foam dog bed effectively, focusing on neutralizing those odors and stains: Apply enzyme cleaner liberally on the affected area, using your hands to work it into the foam. These specialized cleaners break down the uric acid crystals responsible for that familiar, persistent smell. Give the cleaner around 10-15 minutes to work. This wait time is crucial, so don't rush through it. Allowing the enzymes to do their job can save you from having to clean the same spot over and over again. Sprinkle baking soda over the damp area. This not only helps absorb any remaining moisture but also tackles odors as it dries. Leave it for 2-3 hours, then vacuum thoroughly to remove all traces of the baking soda from the foam surface. Spritz with clean water using a spray bottle, and then gently blot the area with clean towels. This step helps eliminate any remaining cleaner residue. Pro tip: Opt for enzyme cleaners specifically made for pet urine. They contain a blend of bacteria and enzymes that completely break down uric acid crystals, unlike general household cleaners that merely mask the smell temporarily. When using cleaning products, avoid mixing them—particularly vinegar with enzyme cleaners or bleach with ammonia-based products, as these can neutralize each other or even create hazardous fumes. Lastly, ensure the foam dries completely before letting your dog use the bed again. Damp foam can encourage mold growth and exacerbate those unwanted urine odors instead of getting rid of them. For more tips on maintaining your dog's bed, check out our guide on dog bed care. Drying the bed properly so mould and smells do not come back After you've tackled the cleaning process, proper drying becomes absolutely critical to your success. Even the most thorough cleaning job falls flat if moisture gets trapped inside the foam, creating the perfect breeding ground for mold and bacteria that will bring those unpleasant smells right back. Think of drying as the final step that locks in all your hard work. Here's how to dry your foam dog bed completely: Position the foam in a well-ventilated area with good air circulation—ideally outdoors on a covered porch or near open windows if weather permits. Place clean towels underneath and on top of the foam initially to absorb excess moisture, replacing them when they become saturated. Ensure airflow reaches both sides by propping the foam on a drying rack, clean outdoor furniture, or rotating it every few hours. Use fans or a dehumidifier to speed the process, especially in humid conditions or during winter months. Allow 24-48 hours for complete drying, depending on foam thickness and weather conditions. Avoid direct sunlight or heat sources like radiators, which can break down foam structure over time. Quick Drying Test: Squeeze the center of the foam gently. If it feels cool, heavy, or releases any moisture, it needs more time. Completely dry foam should feel light and spring back immediately. While your bed dries, set up a temporary sleeping area using spare blankets or a backup bed. Your dog won't mind the temporary arrangement, and you'll thank yourself for the patience later. Many pet parents find that waterproof mattress protectors under the regular cover make future cleanups much easier. This waiting period might feel long, but rushing back to a damp bed will undo all your efforts and potentially create bigger problems down the road. When to replace the bed and how to make the next clean-up easier Sometimes even the most thorough cleaning can't bring a foam dog bed back to life. If your pup has had multiple accidents on the same bed, or the foam has started breaking down into crumbly pieces, it's time to say goodbye. Persistent odours that return even after deep cleaning usually mean urine has penetrated too deeply into the foam's structure to ever fully eliminate. You'll also want to replace beds where the foam has lost its shape or developed permanent staining that won't budge. Memory foam beds are particularly tricky since their dense structure traps odours more stubbornly than regular foam. If you're dealing with an elderly dog or a puppy still learning house training, a bed that's weathered several accidents might simply become unhygienic to keep. Making future clean-ups easier starts with choosing the right bed design. Look for beds with removable, machine-washable covers that zip off completely. Waterproof liners between the cover and foam create an extra barrier against accidents—think of them as insurance for your sanity. Some pet parents swear by placing a waterproof mattress protector under the entire bed for added peace of mind. When shopping for your next bed, consider how you'll clean urine from the foam dog bed before you even bring it home. Beds with memory foam inserts that can be removed entirely make the whole process much simpler. Multiple cover options mean you can rotate them during washing, so your pup always has a clean, dry spot to curl up. The key is being proactive rather than reactive. A little prevention goes a long way toward keeping both you and your dog happy when accidents happen. Because let's be honest. If you have a dog long enough, they absolutely will happen.